The Ikea kitchen system has a high number of DIY kitchen designs and installs happening. These homeowners are likely sourcing countertops without the help of a designer or contractor for the first time. The goal is to take some of the mystery out of this process and step-by-step planning and installing your IKEA or Semi-handmade kitchen.
Step 1: Selecting your Material
 It is important to do your research on what material will work best for your family. Personally, I chose quartz for my kitchen because it is highly heat, stain, and scratch resistant. We installed our kitchen when my kids were young and I love to cook, so it is a surface that gets a lot of attention and use. I decided I did not want to be worrying about damage to my counter tops. I searched through a lot of quartz products before I found one that had the look of natural stone, without looking too printed or fake, and fell in love with the products from Vadara Quartz. After almost 2 years of living with our kitchen countertops, they are still pristine!
Selecting your countertop material should happen hand-in-hand with selecting the color of your cabinetry. One will have to be chosen “first” but it is ideal to compare them as you are making your selections. You will want to ensure that the tone of your gray cabinets is not too blue against the warmer tones of your material, or the other way around.
So how do you find your material?
Ask around to friends, family, and any trades you have had working on your kitchen to what local stone distributors they have used and like. If you are wanting to see a variety of products, like stones and quartz, be sure to call ahead and check that they have each type you want to see in stock. If you know you want a specific quartz product, you can go to the manufacturers website and search for showrooms in your area.
Step 2: Ordering your Countertops
Once you have decided what product you want, you will likely be able to reserve the material and get an estimate of the cost. You will want to take with you all of the information you have for your design. This will help them to give you an accurate idea of how much you can expect to be spending on the material, fabrication, and installation of your countertops. This is where having a plan set is really valuable because all of the design details are planned out and ready for estimating.
Step 3: Installing your Kitchen and Templating
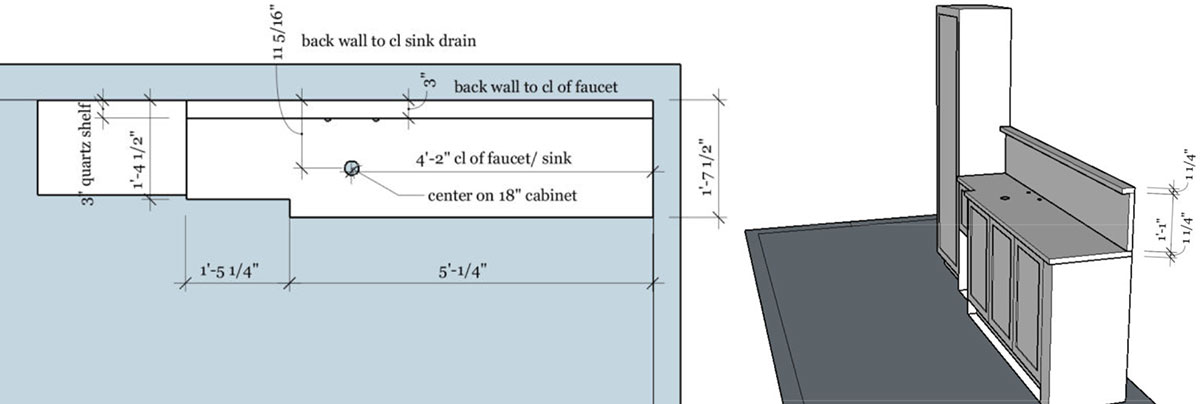
 Once you have installed your kitchen you will set up an appointment for the templating of your countertops. They will laser measure the entire setup to ensure everything is accurate to your true space, rather than design plans. At this time you will also need to provide them with the specification sheets for your sink, faucet, cooktop, and any other details you are having them fabricate as part of your design.
Step 4: Layout on the Slab
Your fabricator will take the dimensions they measured and do a layout of it on your slabs. This may be done by building a template that they tape to the physical slab, or digitally by drawing it on top of an image of your slab. In non-Covid times you will likely be invited to their facility to discuss the layout and approve it.
Step 5: Details to Over-Communicate
Here are a few things to think about before you approve the fabrication:
 Overhang of your Countertops
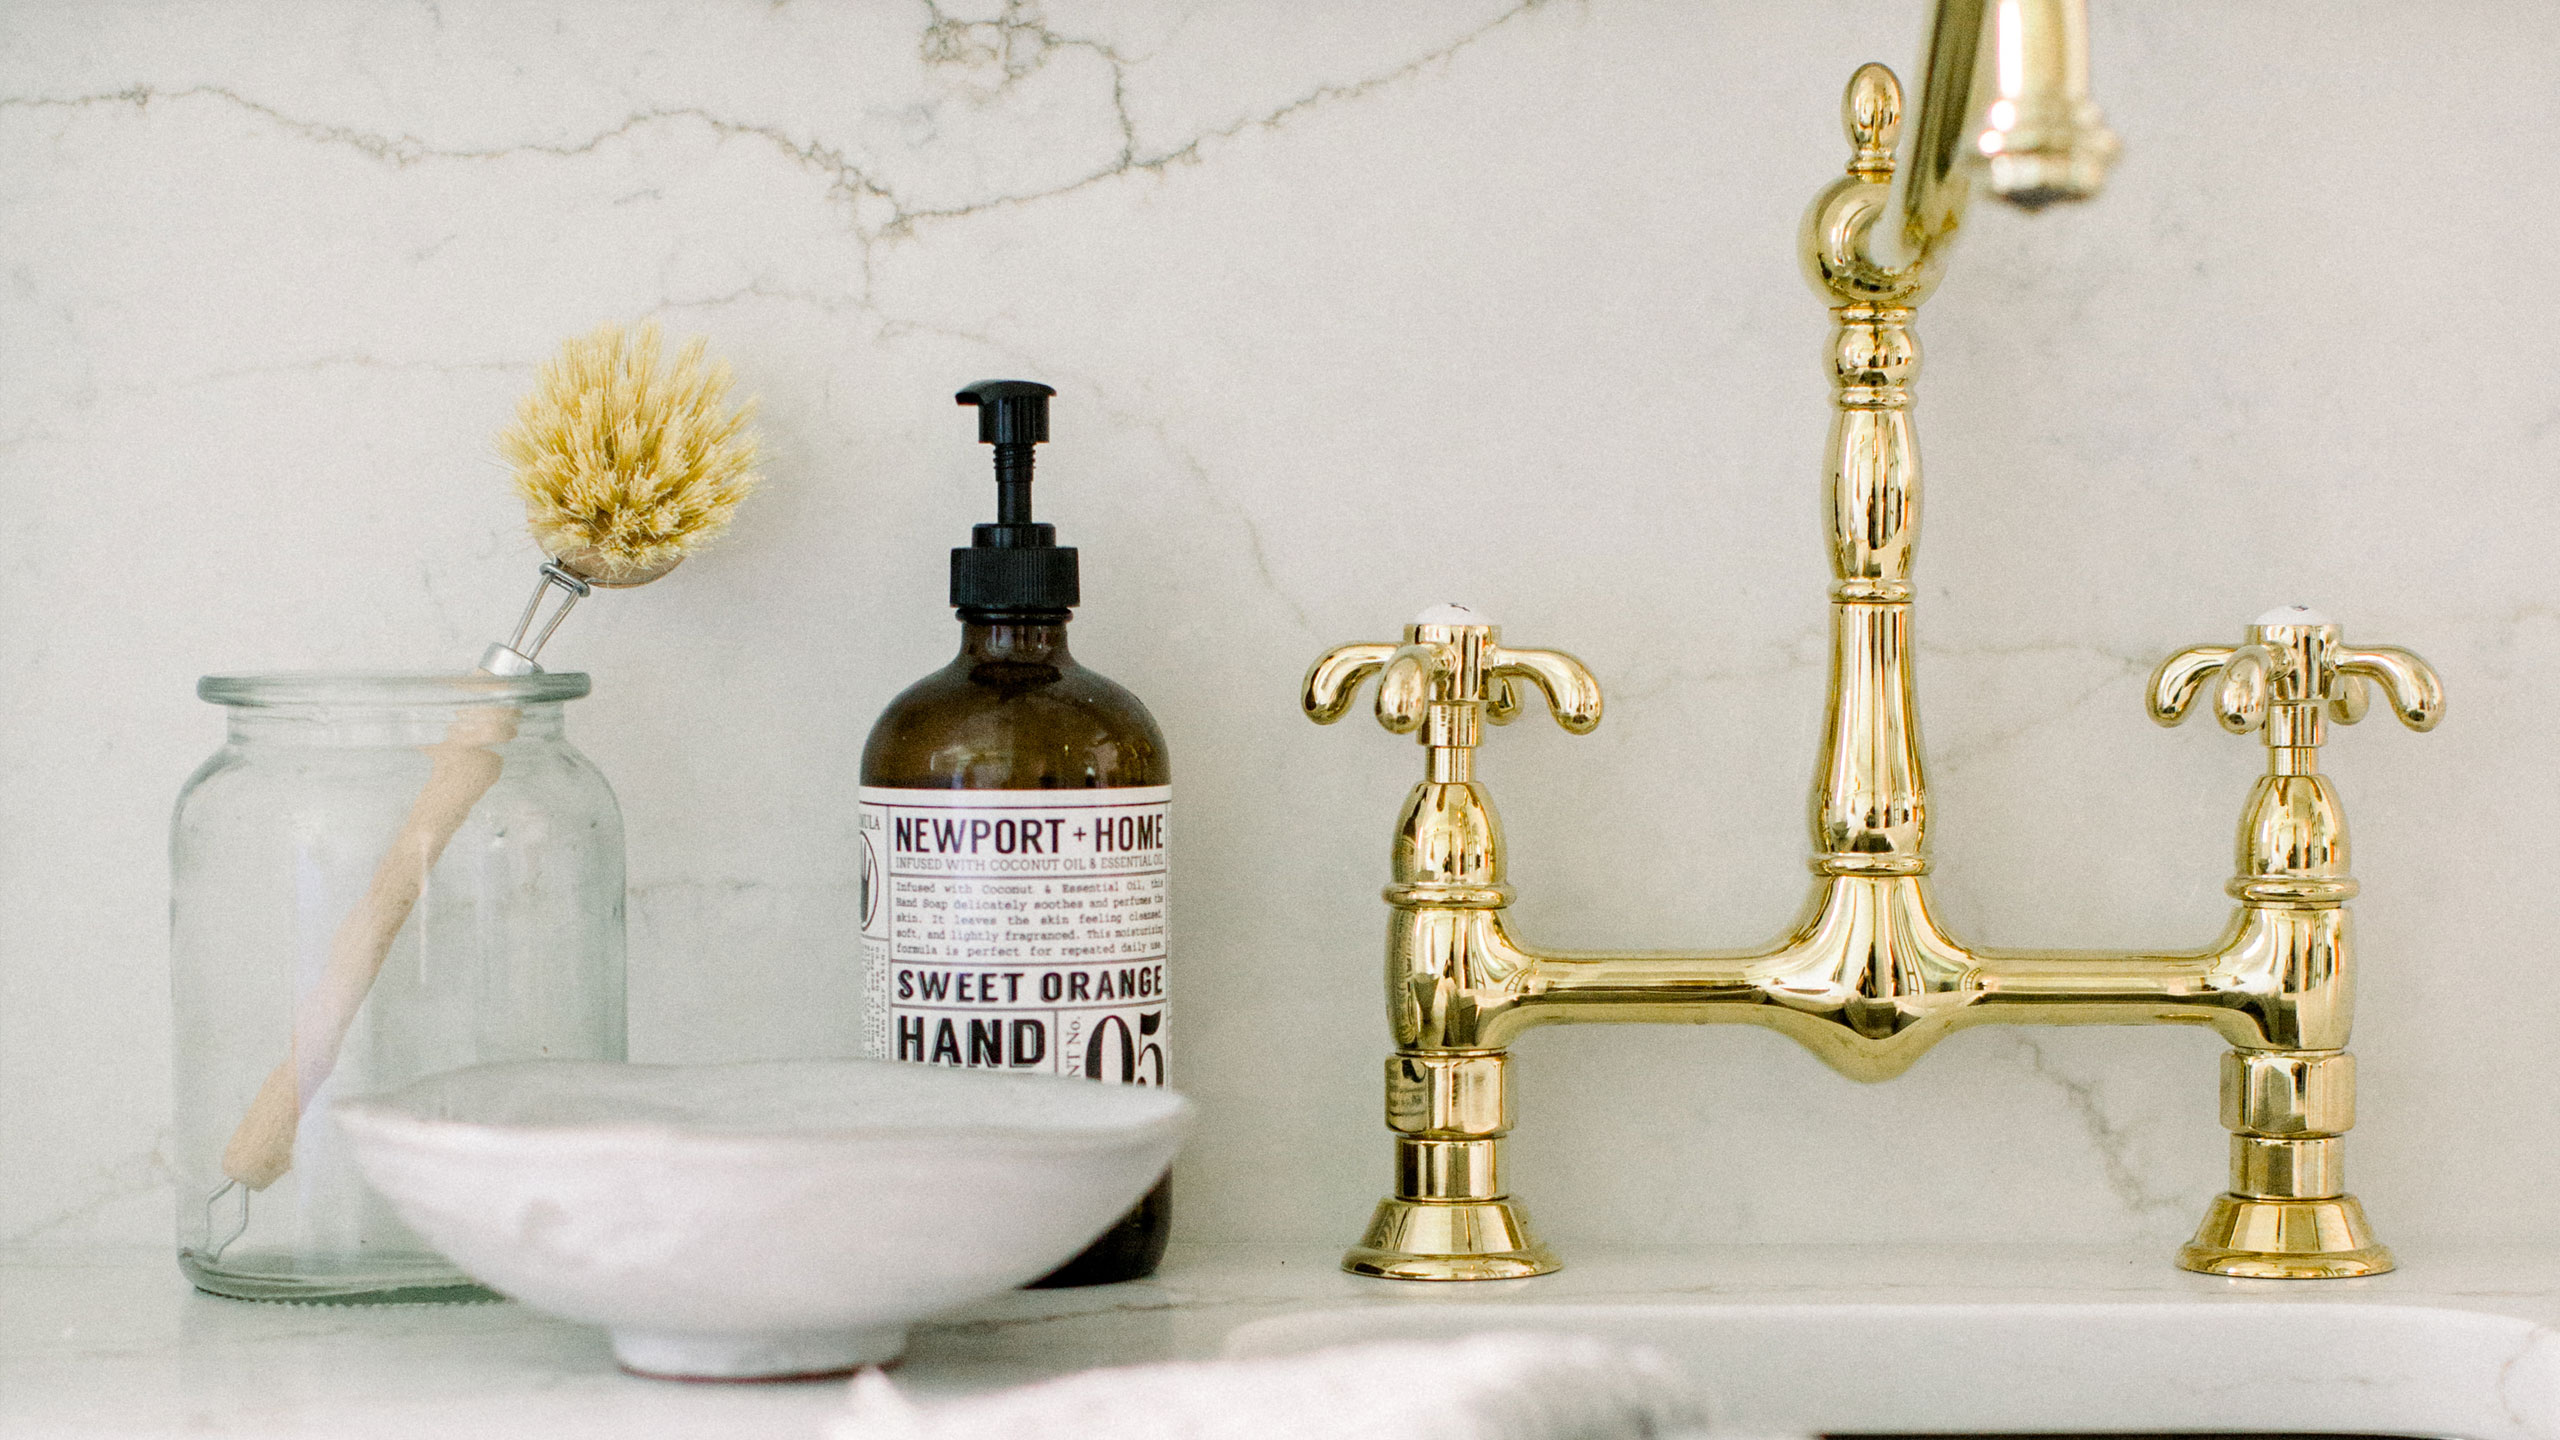
The overhang is measured from the face of the door or drawer front. Ikea is frameless, so be sure to have your doors installed when they template or add the additional thickness to the overhang to account for them. Ikea doors are typically 1/2″ ( with the exception of the AXSTAD which is 3/4″) and Semi-handmade doors are 3/4″. Be sure to verify your door thickness.- What Countertop Edge Profile
There are a lot of options for the edge profile of your countertop. Your fabricator should be able to provide you a list of what they offer and will likely have examples of each to show you. The eased or straight edge profile is simple and classic versus the timeless ogee edge for a more traditional space or as a detail on an island. - What Radius for Corners
Both inside and outside corners will have a radius to them to prevent sharp corners. Consider a smaller radius for its simpler, more current look. - Breaks in Material
Depending on how your product is being installed you may have seams in your material. Think through how the veining pattern of the material will look when laid out in the room to make sure it is not running in competing directions. Seams in your material may also be unavoidable due to material strength and installation constraints. It is okay to ask if it is possible to adjust or eliminate any seam locations you don’t like.
If your fabricator did not ask you about these details, bring them up! You do not want them to make assumptions for you and have countertops installed that do not meet your vision. These small details can really impact the overall design of your kitchen.
Step 6: Installation
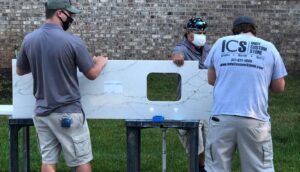
 Once you have approved the template and they have fabricated your countertops, they will come on site to install. You will want to ensure that you have everything they need ready for the install. If you are using an undermount sink or a drop in cooktop they may go ahead and install and set those items into the countertop for you. This will most likely not include the plumbing and electrical hook ups. Make sure you have cleared away any temporary countertops from the cabinet frames. Also ensure that your construction mess is cleared away. They are carrying a very heavy product that you do not want them to trip and drop!
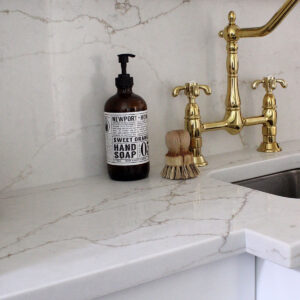
Step 7: Enjoy your Beautiful New Countertops!
Be sure to ask about what cleaning products are recommended for your surface to ensure that they are taken care of for years to come!

Special Thanks to:
Guest Blogger: Katie Decker
Web: housewithhome.com
IG: @housewithhome
Fabricator:
Indy Custom Stone
Web: indycustomstone.com